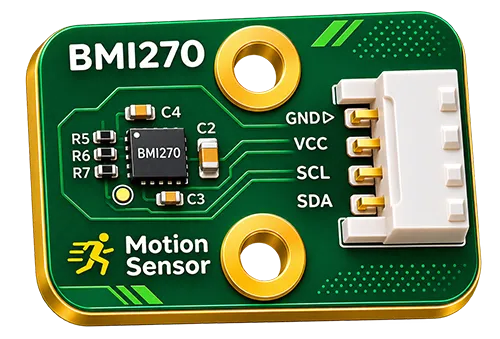
Motion Sensor
BMI270 · I2C
Detects motion, tilt, rotation and steps with a 6-axis accelerometer and gyroscope.




 Attend our in-person Robotics & Math
FREE workshop
for your child (7-18yrs old) in your City
Reserve a seat today!
(No credit card needed)

Your teen learns PCB design, mechanical design and embedded coding, then designs, builds and launches a real product people can buy — guided by engineers and makers.
Anyone can have an idea. In the future, only those who can take it from concept to finished product will survive.
Three stages that take your teen from first circuit to a product real people use.
Master the three disciplines behind every hardware product.
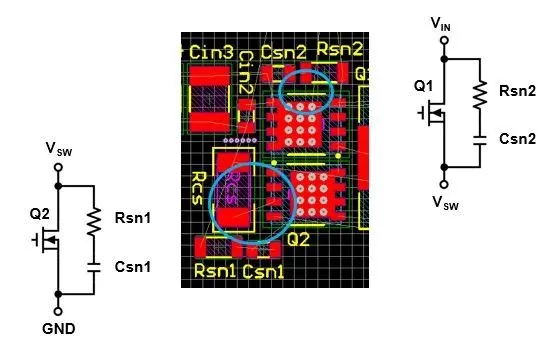
Draw schematics, place parts and route a real circuit board ready for manufacturing.
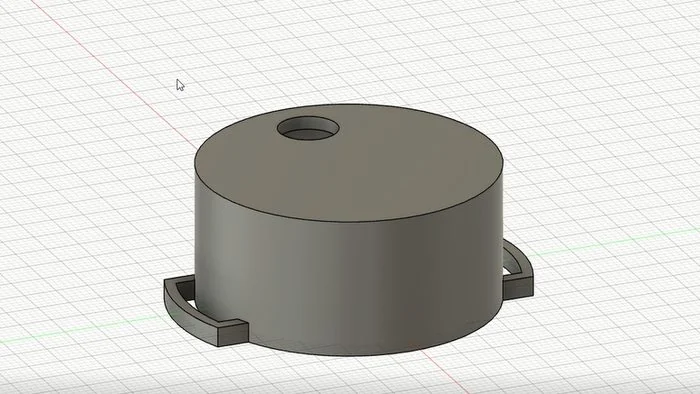
Model an enclosure in 3D CAD that fits the board and survives everyday use.
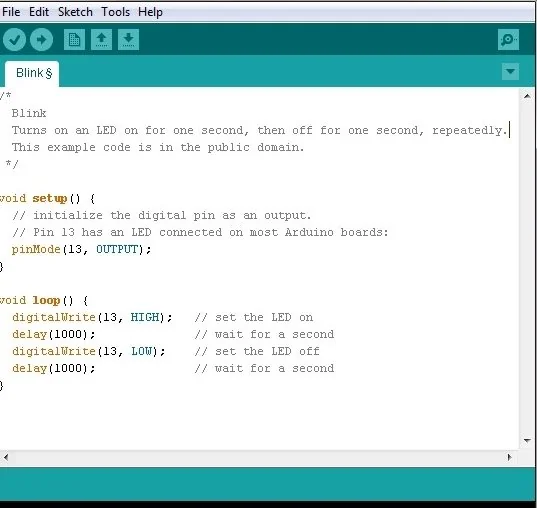
Write embedded C/C++ that reads sensors, drives outputs and talks to apps.
Then they apply those skills to one small board
Take one small sensor board through the full journey: design, test, and sell.
Before you start: Basic circuits, electronics, and coding. Start here directly if you already have these.
Pick a real sensor and design its board: the schematic, the PCB layout, a standard 4-pin connector and LEGO-compatible mounting holes.
They learn
the professional board design process, from reading a datasheet to a board ready to manufacture
$ python board_test.py
Looking for AHT20 at 0x38... found ✓
Temperature 22.4 °C in range ✓
Humidity 41 % in range ✓
RESULT: PASS · board ready to ship
Write code that talks to the board, reads its values and checks that every board works before it reaches a customer.
They learn
how engineers test hardware and catch faults before customers do
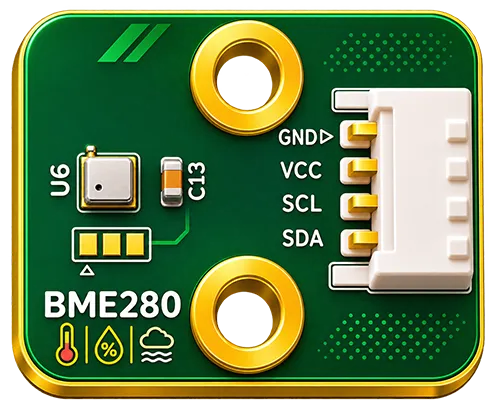
Student Store
BME280 Environmental Sensor Board
Temperature · Humidity · Pressure
Photograph the board, write its product page, set a price and list it on an online store.
They learn
how to present a product: listing, pricing and what a customer needs to know before buying
Each board is small, does one real job and mounts on LEGO-compatible holes.
BMI270 · I2C
Detects motion, tilt, rotation and steps with a 6-axis accelerometer and gyroscope.
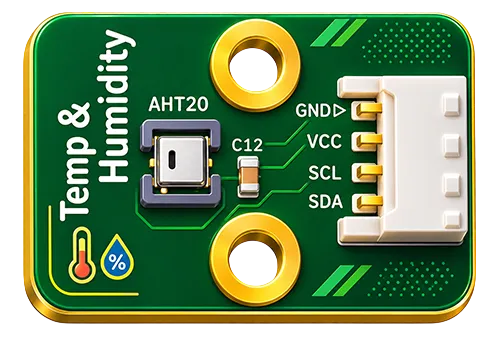
AHT20 · I2C
Measures room temperature and humidity for weather and indoor-climate projects.
BME280 · I2C
Measures temperature, humidity and air pressure, and can estimate altitude.
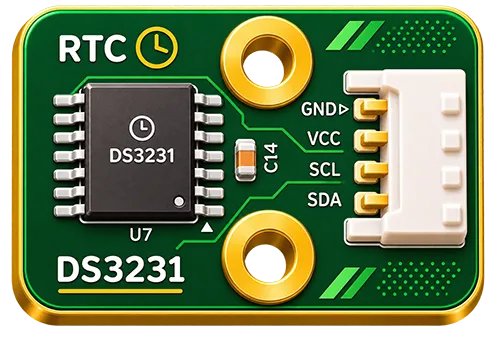
DS3231 · I2C
Keeps accurate time and date on a backup battery, even when the controller is off.
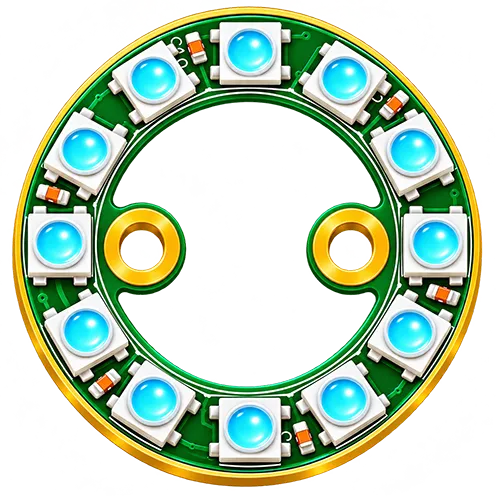
12 RGB LEDs
Twelve individually addressable colour LEDs for status lights and animations.
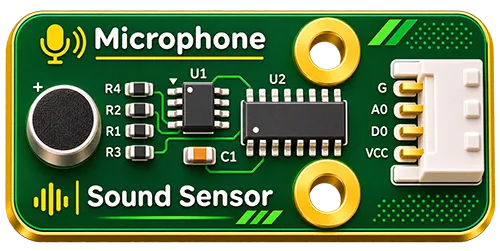
Electret microphone
Picks up sound for noise monitoring and sound-reactive projects.
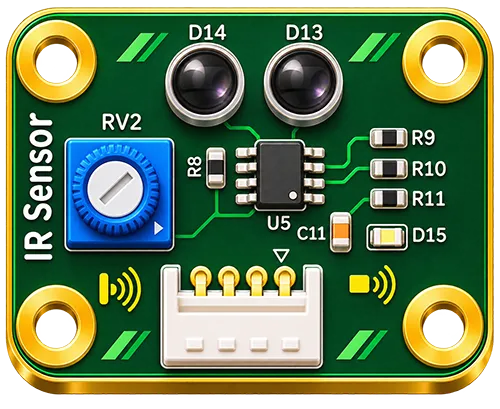
Infrared
Senses reflected infrared light to detect nearby objects and obstacles.
Why this step matters: taking one small board from design to store teaches the full product process on a low-risk project. On their final product, they repeat the process with an idea of their own.
Then they put it all together
Bring everything together in a product of your own. Every step teaches what a classroom can’t.
Before you start: Basic PCB design, electronics, and coding. Don’t have these yet? We’ll teach you.
"I forget to drink water"
"My video calls keep getting interrupted"
"Too much candy!"
Spot an everyday problem worth solving and shape it into a product idea.
They learn
to look at problems through users' eyes and turn them into product requirements
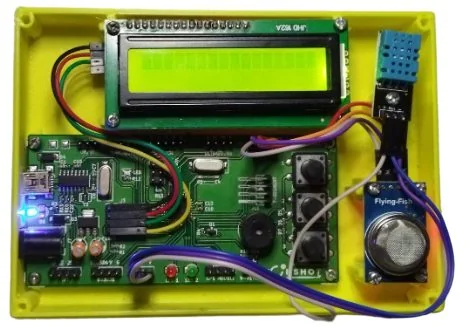
Design the custom board, model the enclosure and program the controller, then test and improve until it works.
They learn
the design, build and test cycle that engineers use every day
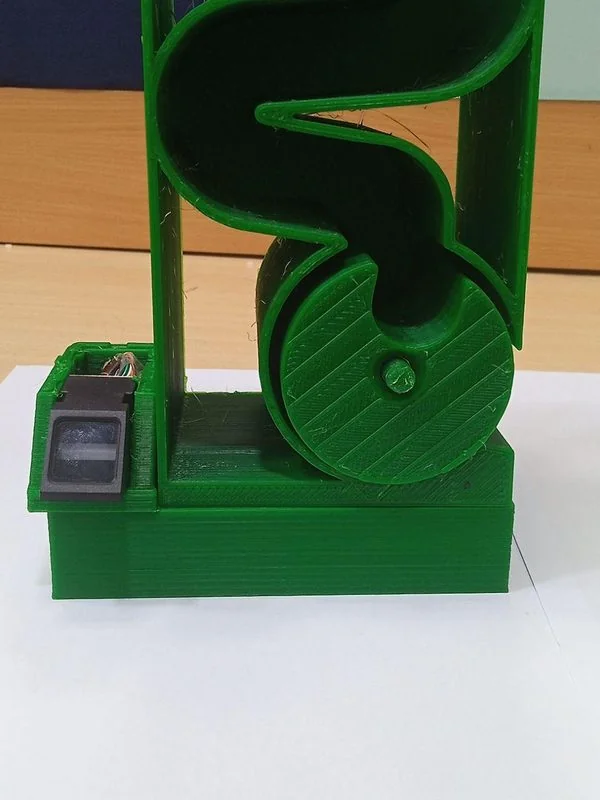
Kids Candy Dispenser
$312 raised · 104% · 6 backers
Back this projectLaunch the product on Moonfunded or Kickstarter, set a funding goal and present it to backers.
They learn
the marketing side: pitching, pricing and reaching customers
Every product your teen builds brings together the same layers that engineers work with.
A custom printed circuit board
A 3D-designed, 3D-printed enclosure
Firmware for the embedded controller
A real problem it solves for real users
Something people can use, back and buy
Amount raised against each funding goal
$1,563
raised in total
Water Bottle Reminder
111%
Home Buddy
117%
Kids Candy Dispenser
104%
Smart Light Bulb
55%
Electrical
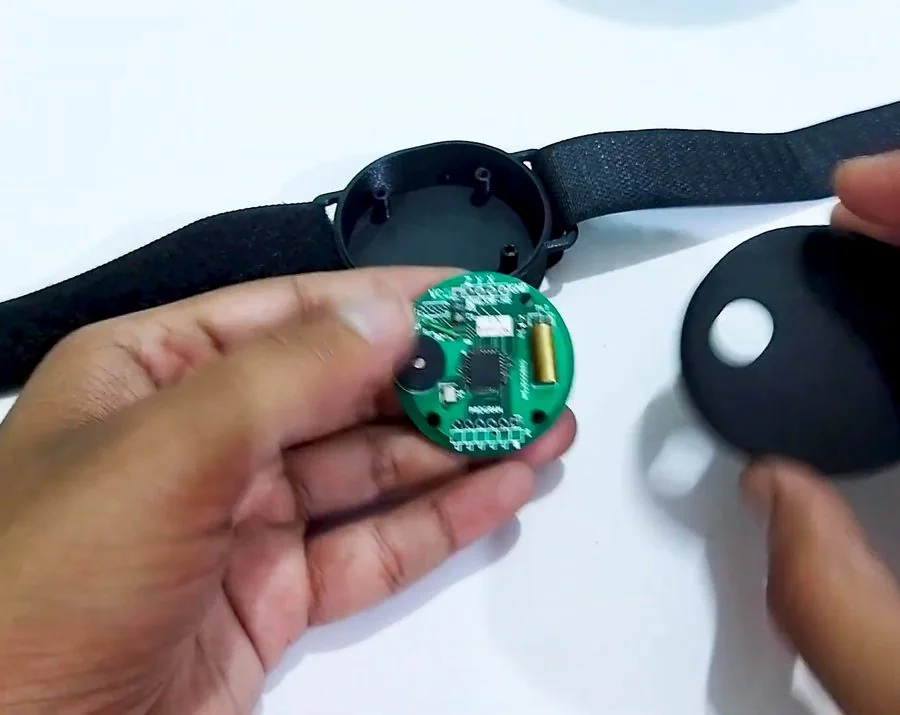
Circular custom PCB, ATmega328P chip, tilt sensor and accelerometer, buzzer, coin-cell battery
Mechanical
3D-printed case that straps onto any bottle with Velcro
Code
A one-hour timer that resets each time the bottle is lifted, and sounds the alarm if it isn't
Built by three 13-year-olds from the Dottie Rose Foundation.
Real projects from Moonpreneur students. Pick one to see how it was made.
Custom projects start from your teen's own idea. The timeline depends on how complex the product is.
Free consultation
In 30 minutes we'll learn what your child enjoys, suggest a product they could build and walk you through how the program works.
Three engineering skills, one finished product.
A printed circuit board holds a device's electronics and connects them with copper traces. Students learn to turn a circuit into a schematic, then into a board layout that can be manufactured.
Using CAD software, students design the parts and enclosure that hold the electronics, moving from a 2D sketch to a 3D model to a 3D-printed part.
Students write the code that runs on the product's microcontroller, reading its sensors, making decisions and driving its displays, buzzers and motors.
A proven design, fixed timeline
$499 / month
Your teen's own idea, timeline varies
$699 / month
Co-founder & Head of Innovation, Moonpreneur · CA, USA
Instructor, STEM & Robotics
Senior Instructor, STEM & Robotics
Project Guide & Instructor, STEM & Robotics
$30,000+
raised by student product campaigns on Moonfunded
3
student campaigns beat their funding goal
13
the age of the students who built the Water Bottle Reminder and NRF Attention Reminder
©️ Copyright, Moonpreneur Inc.
691 S Milpitas Blvd, STE 217 Milpitas CA 95035, USA
