


We are here with a super exciting topic for you today: how to make a sign in Minecraft!
Signs are a really important part of the game because they allow you to label things, leave messages for other players, and even create custom decorations. So without further ado, let’s get started!
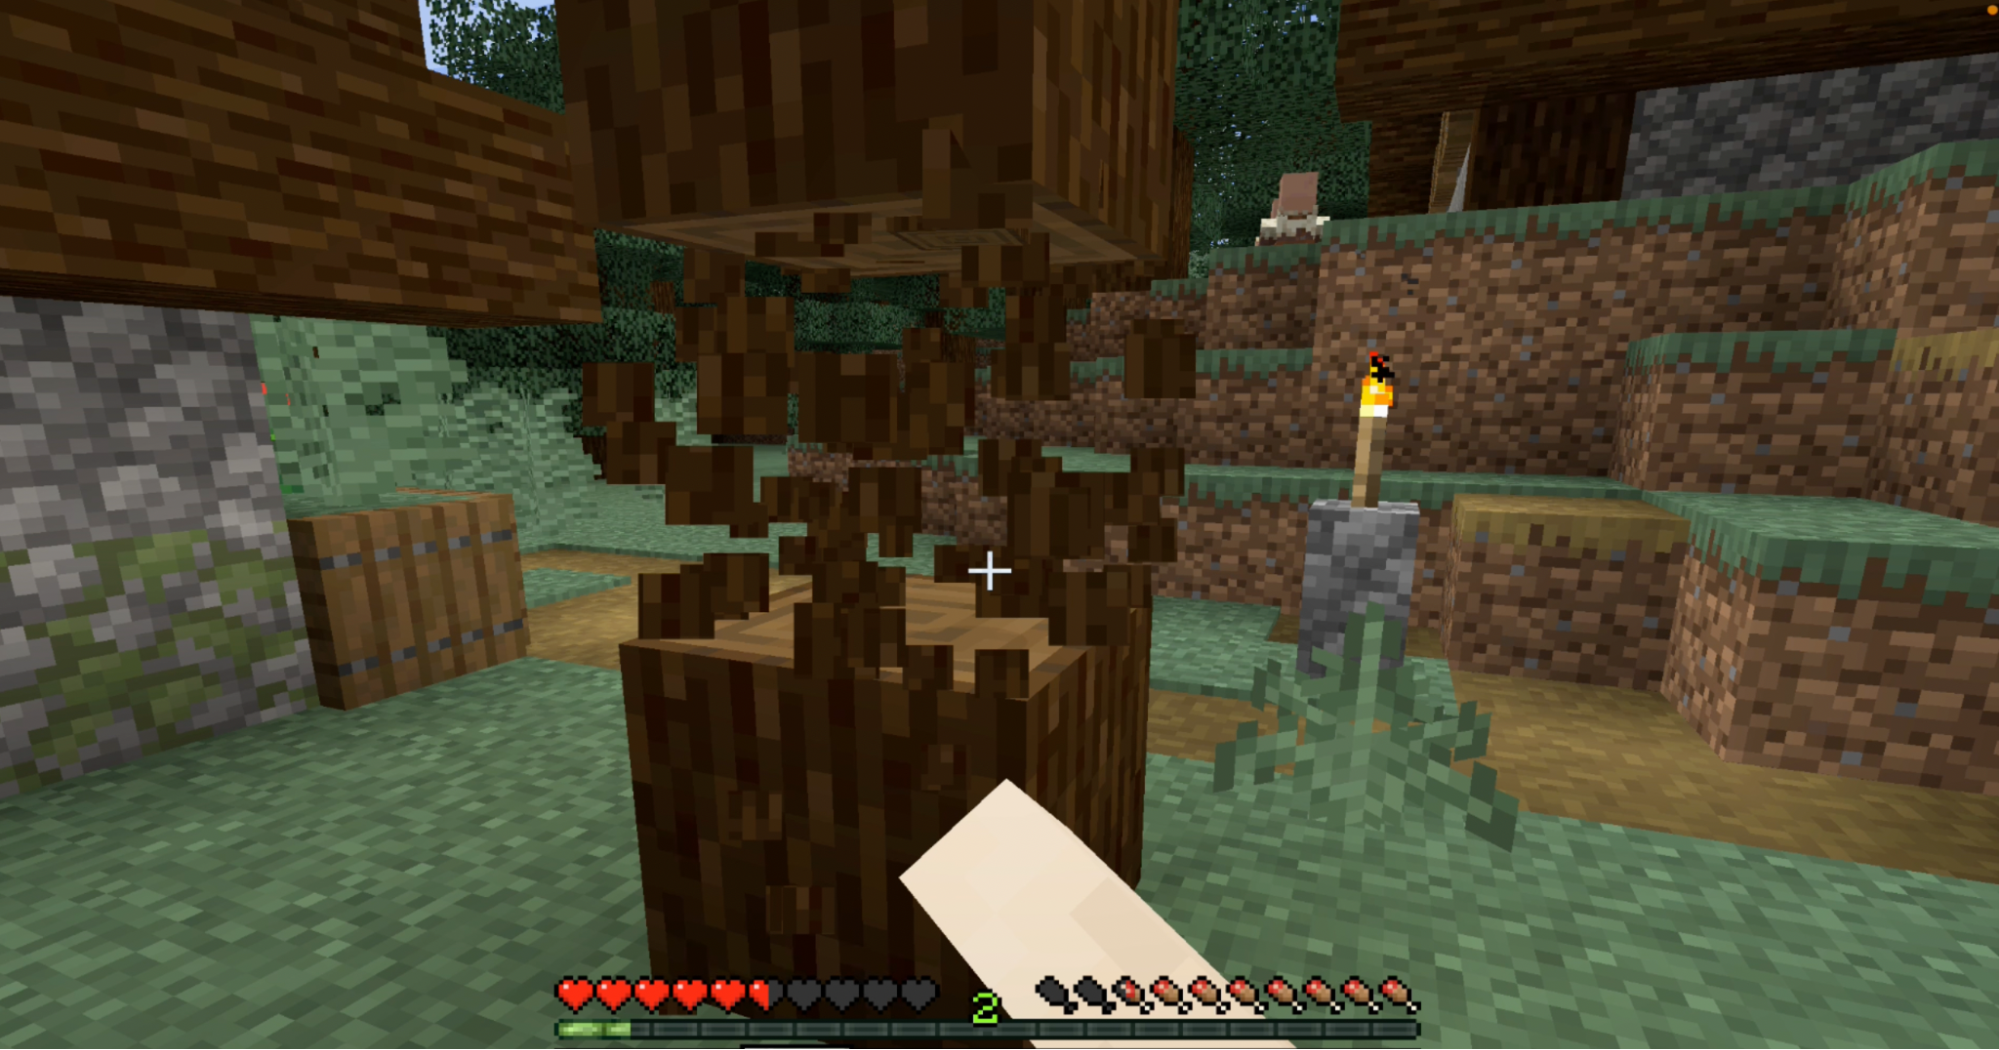
First, you need to gather some materials. To make a sign in Minecraft, you’ll need at least 6 wooden planks of any kind and a stick. You can get wooden planks by chopping down trees with an axe, and you can get a stick by placing two wooden planks vertically in the crafting table. Once you have your materials, it’s time to head to your crafting table.
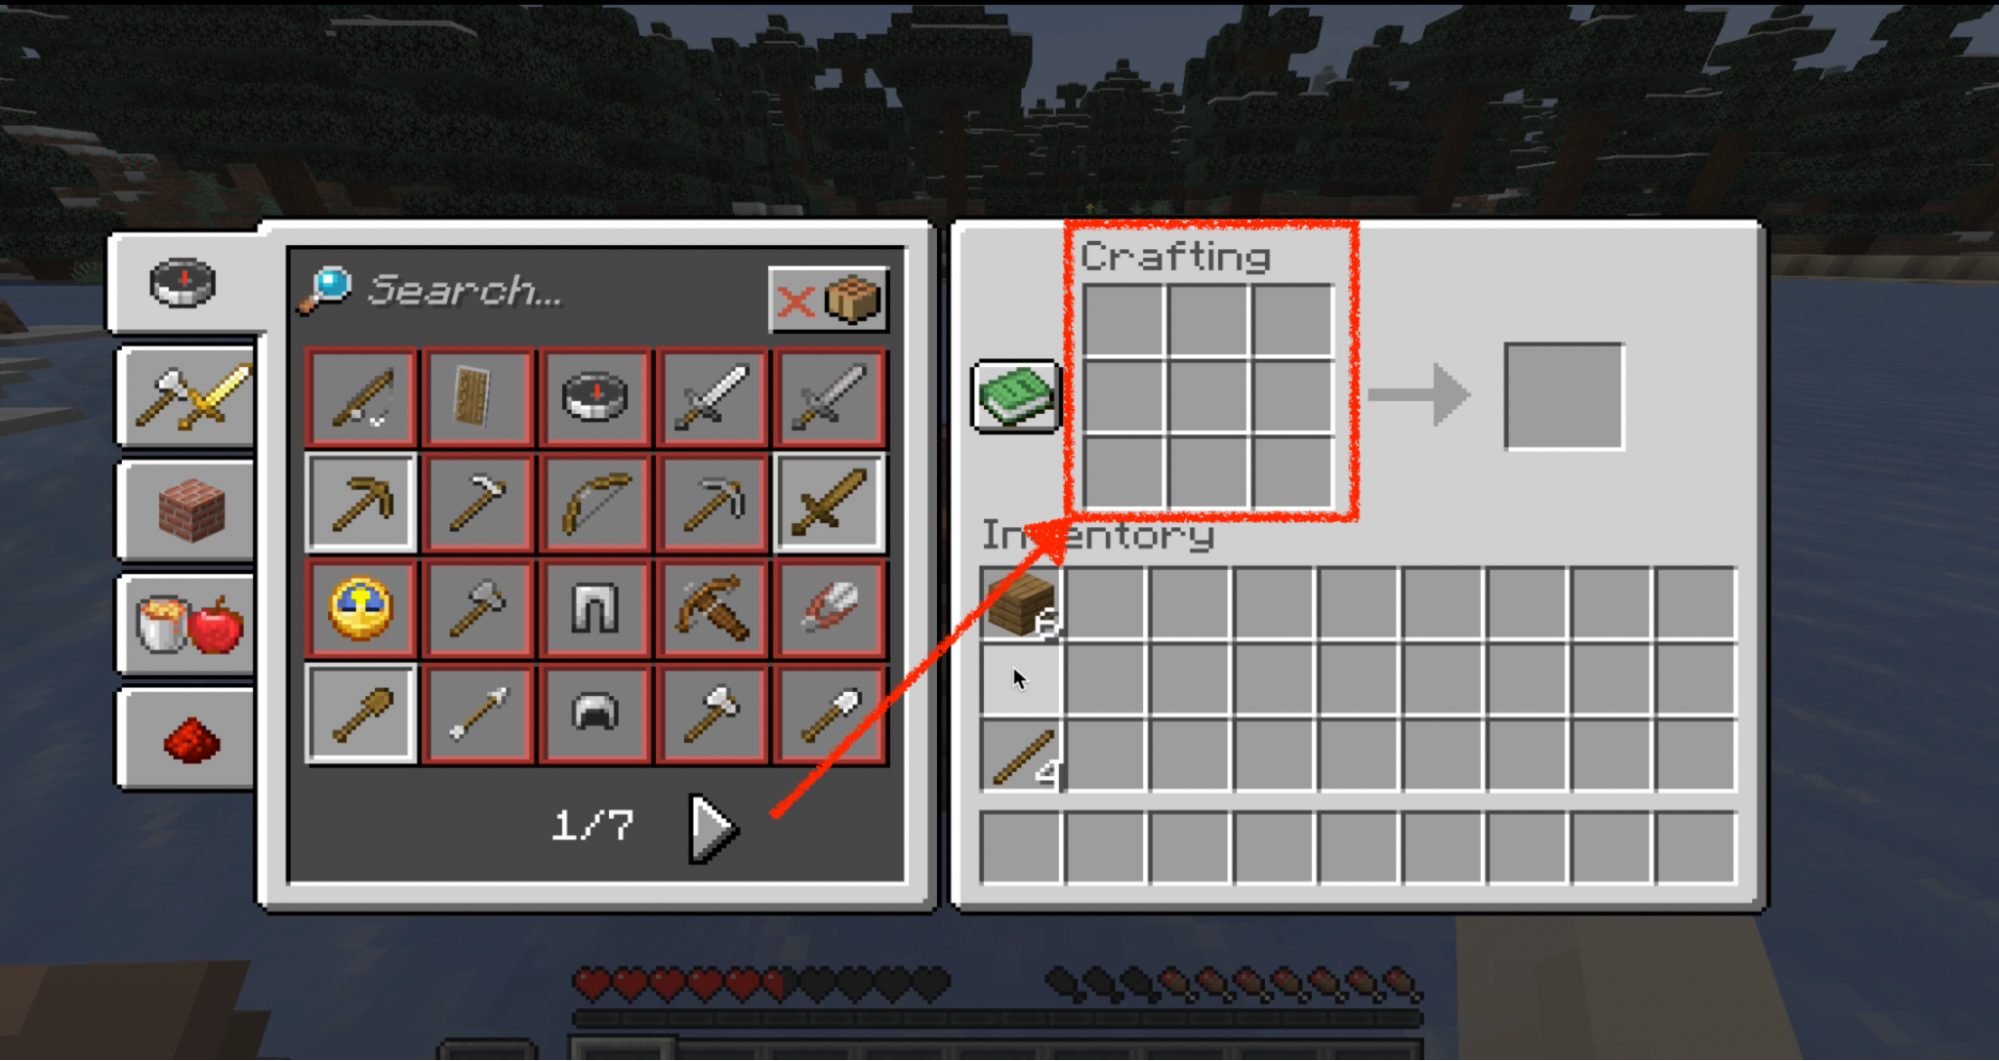
Open up your crafting table by right-clicking on it. If you’re playing on the PC version of Minecraft, you can also press the “E” key to open your inventory, and then click on the crafting table icon in the top-right corner of the screen. Once your crafting table is open, it’s time to start crafting!
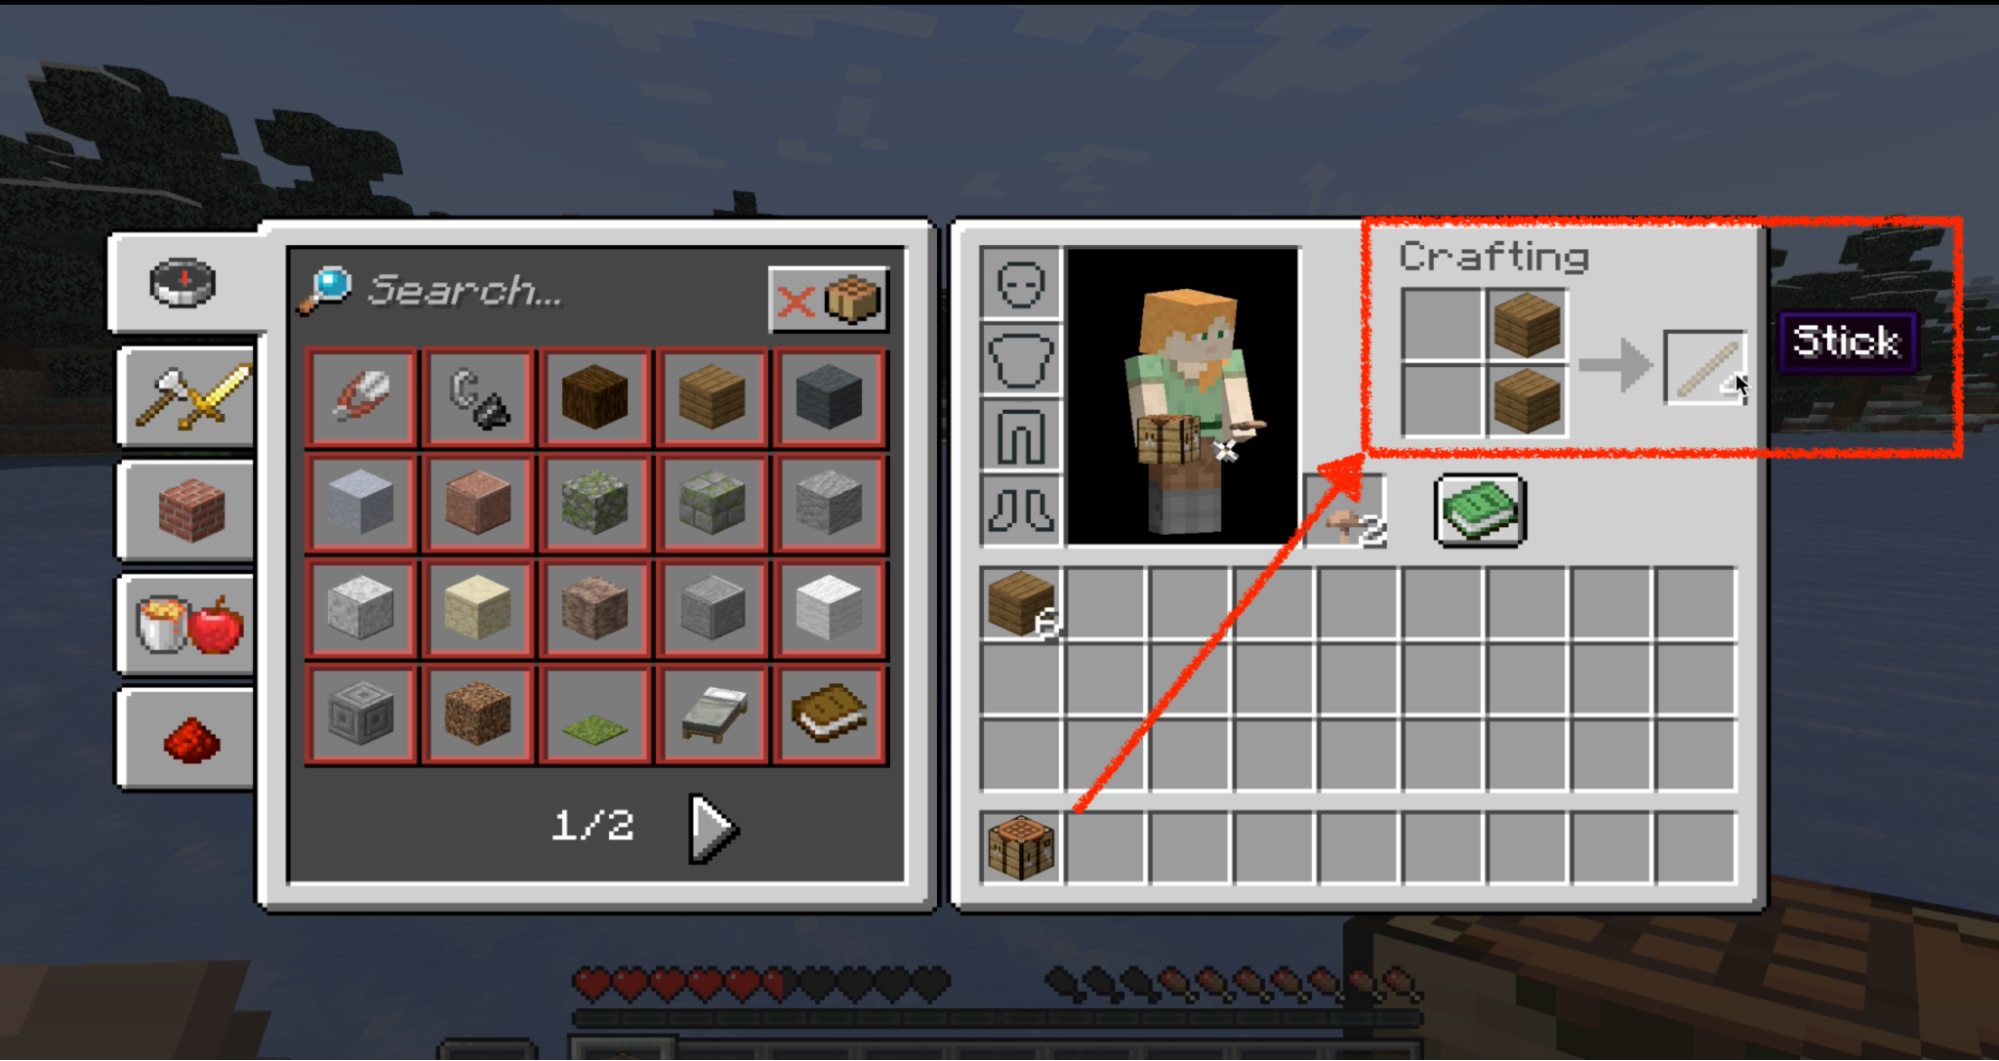
Place the wooden planks in the crafting grid to make sticks. You’ll need one stick. To make a stick, simply place one wooden plank in the top and bottom slots of the crafting grid. This will create four sticks, but you only need one for your sign.
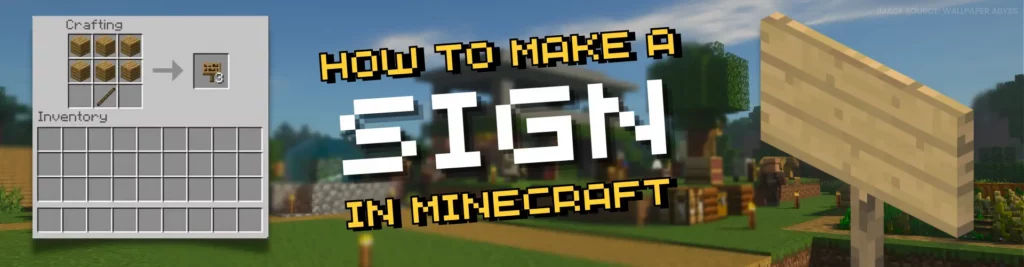
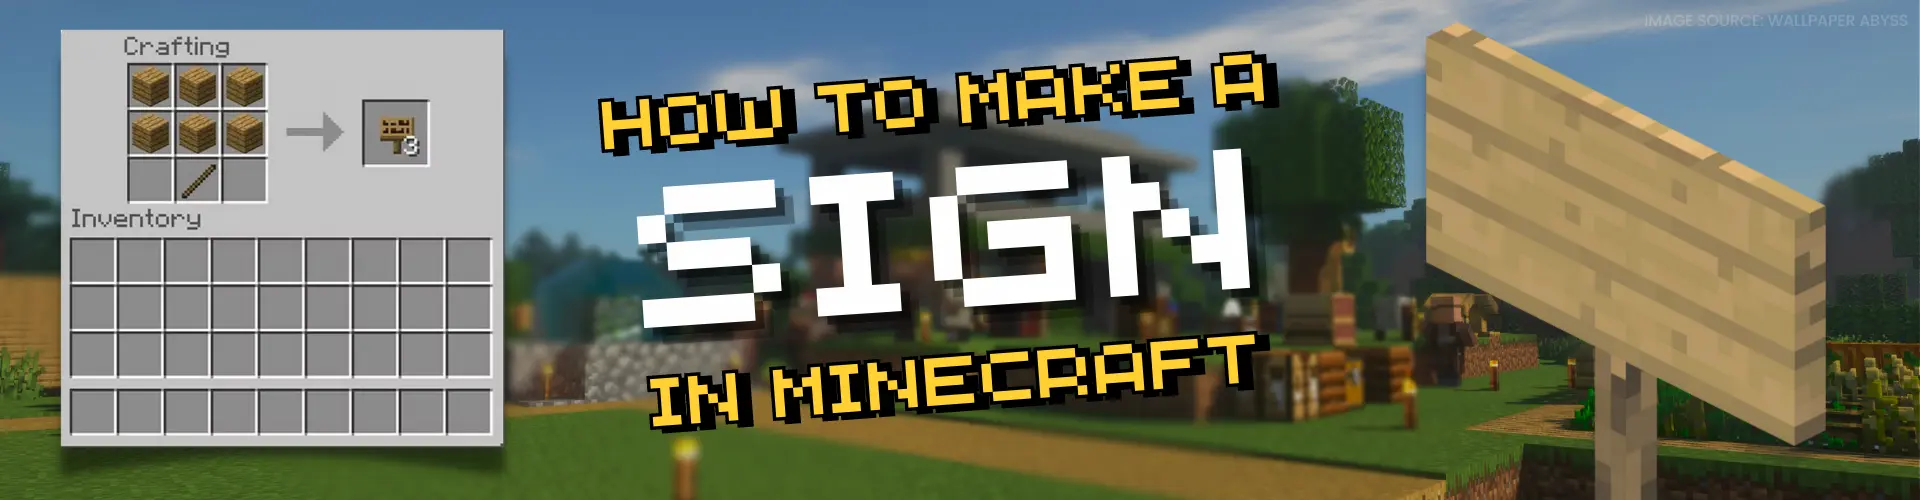
Now it’s time to make the actual sign. Place one stick in the center of the bottom row of the crafting grid, and then place six wooden planks in the above two rows as shown. This will create three signs. Drag the signs from the crafting table into your inventory.
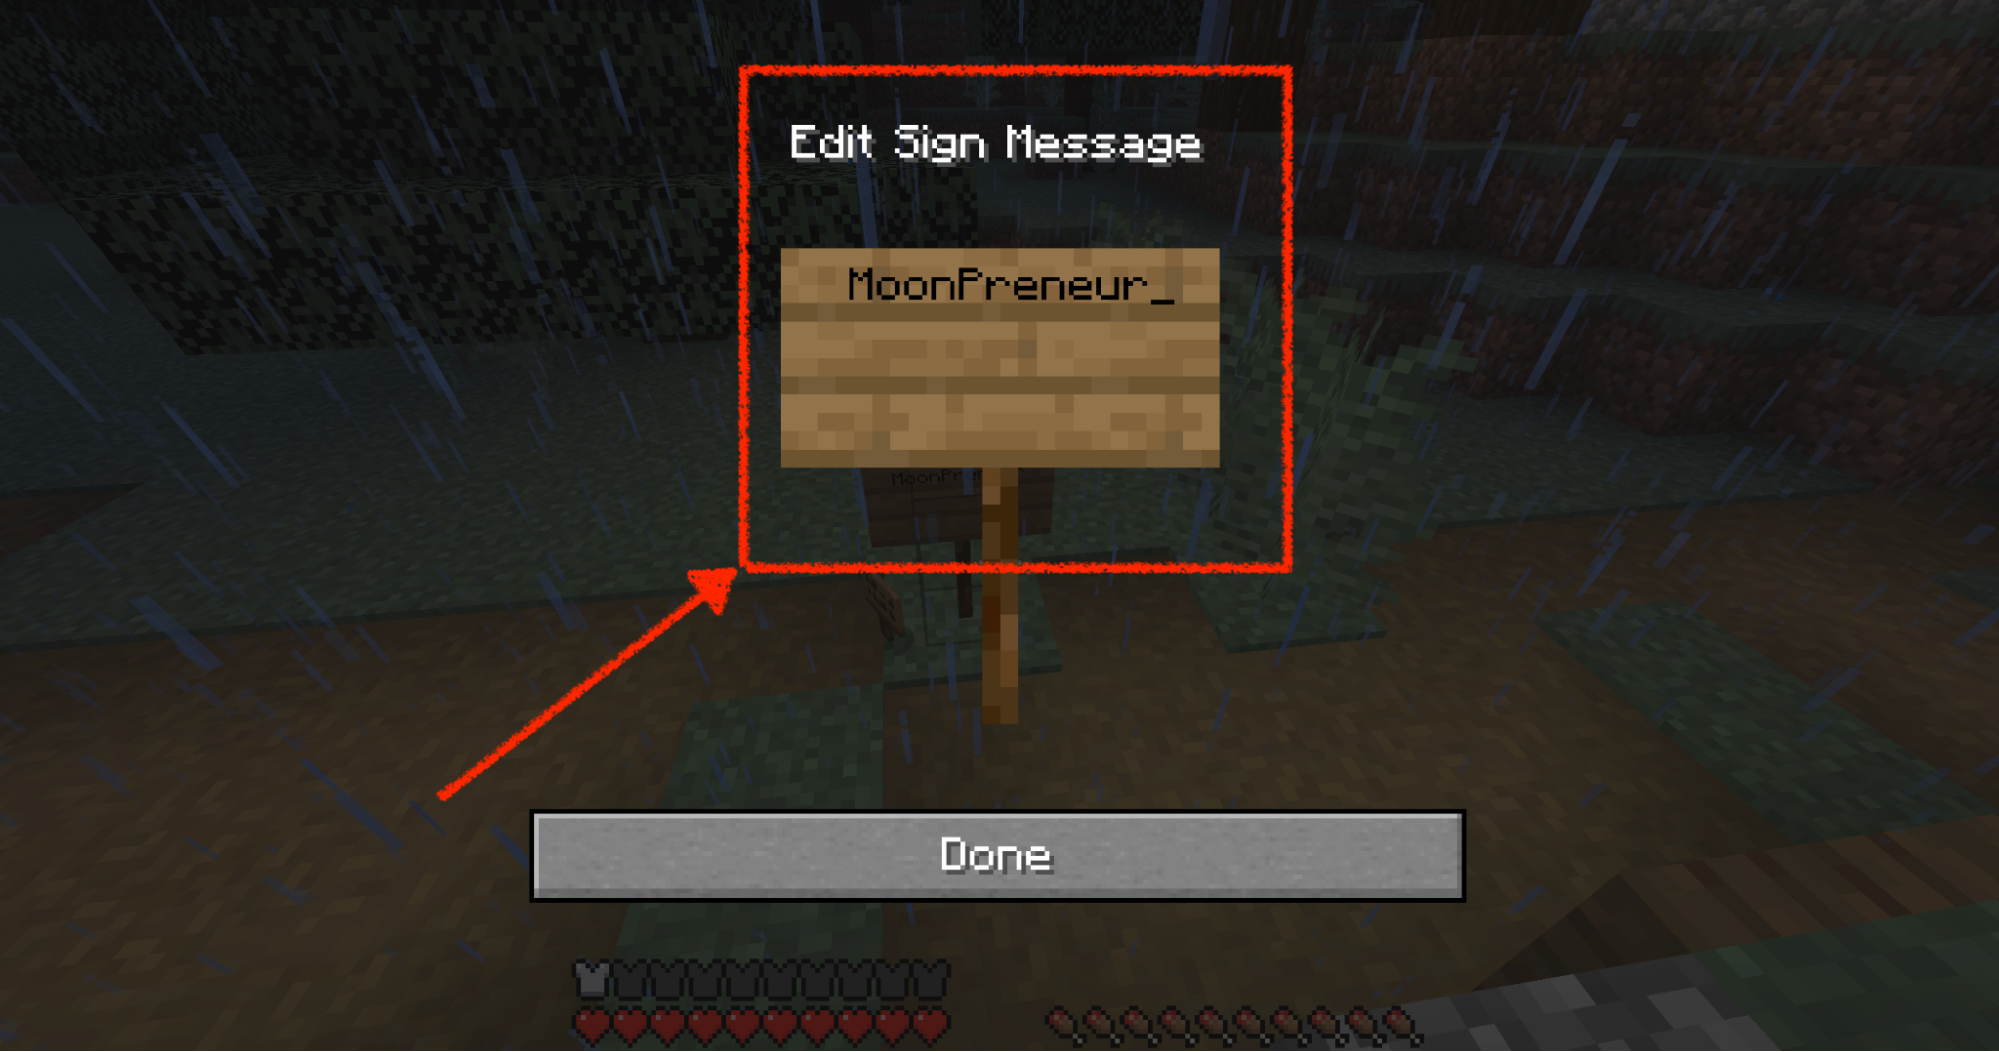
And that’s it! You now have signs that you can place wherever you like. Just right-click on the spot where you want to put the sign, and a window will pop up where you can type in whatever message you like.
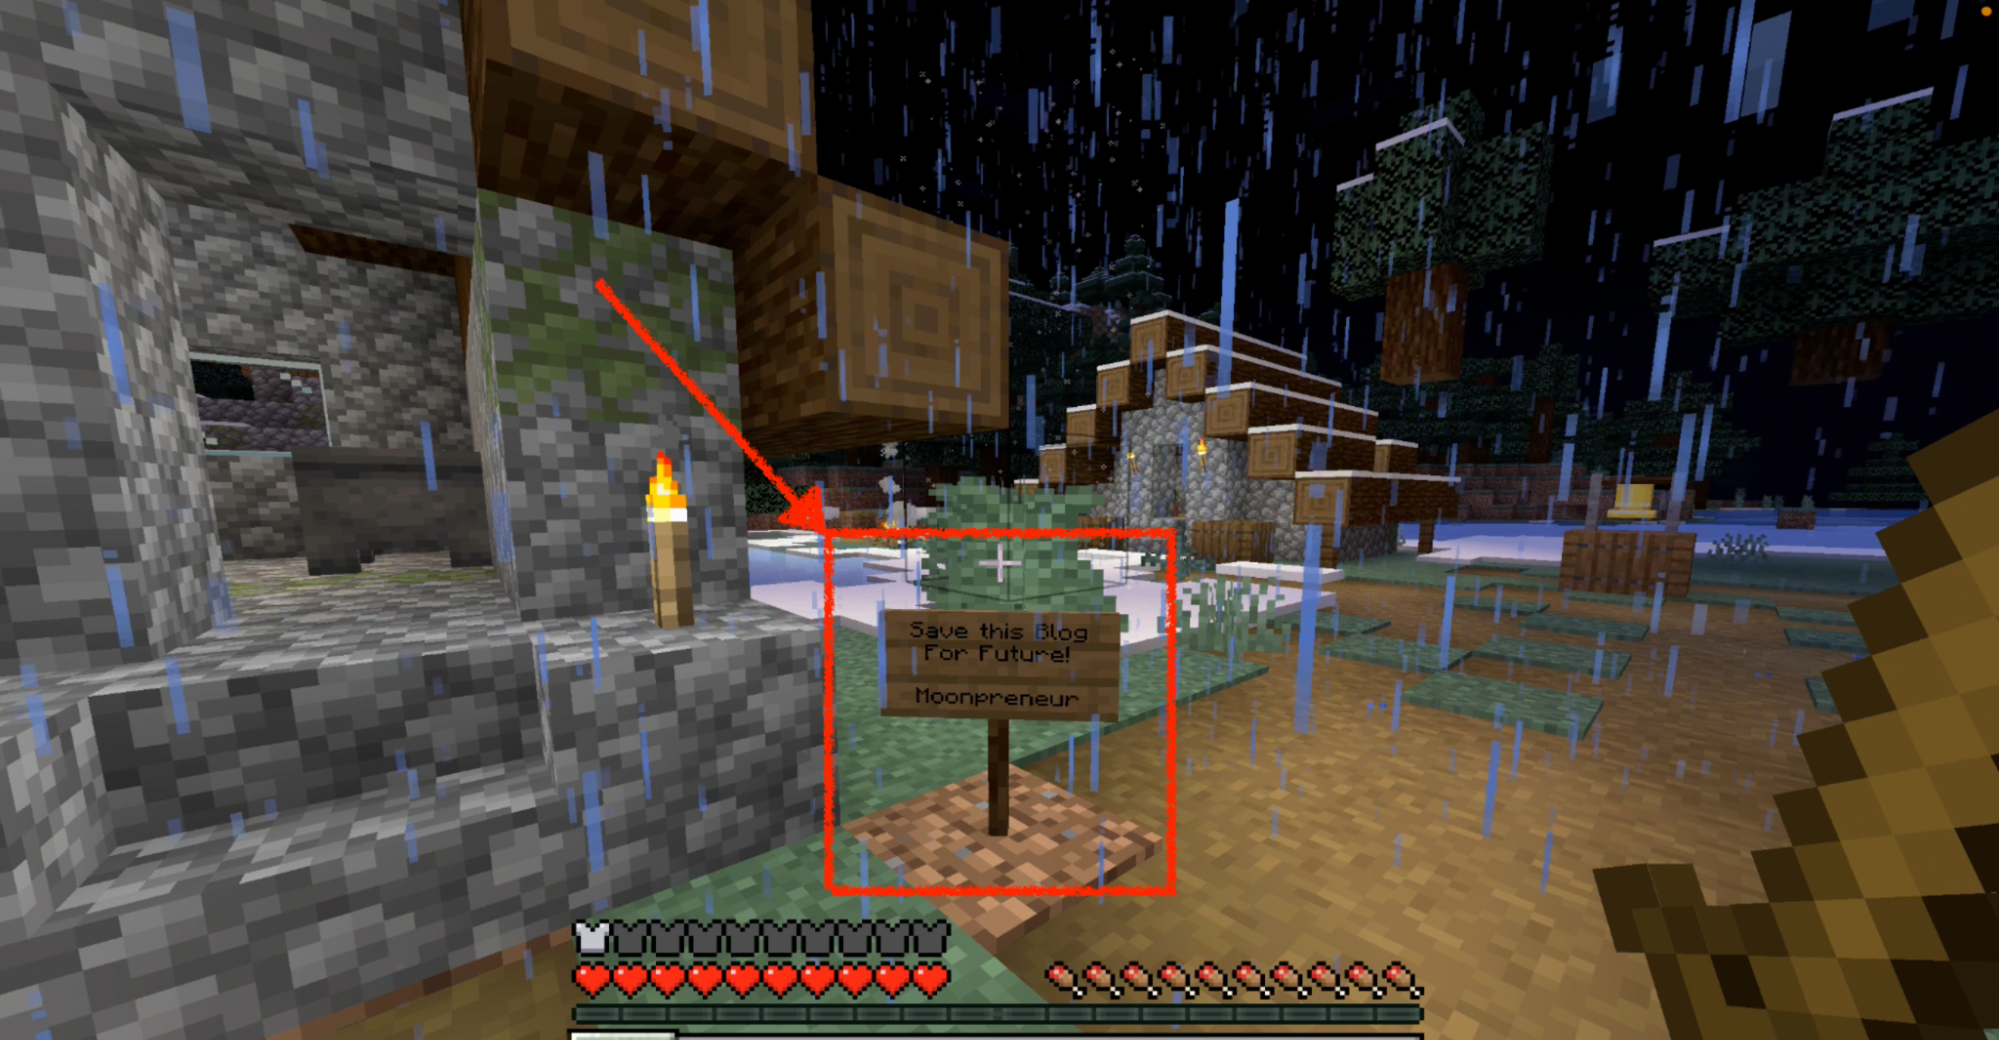
You can use signs to label chests, doors, and other objects, leave messages for other players or even create custom decorations. The possibilities are endless!
One thing to keep in mind when making signs is that they have a maximum character limit of 16 per line. So if you’re trying to write a longer message, you’ll need to split it up into multiple lines. You can do this by hitting the “Enter” key on your keyboard to create a new line of text.
Another cool thing about signs is that you can customize their appearance by placing them on different blocks. For example, if you place a sign on a block of wool, the sign will have a colored background. You can also use different types of wood to make signs with different appearances.
In conclusion, signs are a really important part of Minecraft that allows you to label things, leave messages for other players, and create custom decorations. To make a sign, you’ll need at least 6 wooden planks of any kind and a stick. Once you have your materials, place the wooden planks in the crafting grid to make sticks, and then use the sticks and wooden planks to create your signs. Place the signs wherever you like, and use them to customize your Minecraft world in all sorts of ways.
Minecraft is one of the most popular games among kids, and Moonpreneur is now turning this fun gameplay into an opportunity to learn how to code. Minecraft Coding course will help kids learn the skill of coding the fastest and in the most fun way ever possible! Book a free class today!
If you’re between the ages of 6-15, this is the perfect opportunity to learn some epic skills and simultaneously score a sweet gift card. But you gotta hurry; this offer won’t last forever! So, get your parents to sign you up for a trial class ASAP and get ready to level up your game.