• Learn how to create and run your own programs within Minecraft
• Quizzes and group activities
FOR PARENTS
• Experience our teaching methodology
• Learn about program and course details
• Learn why your child should move from being passive players to active game creators
WHY SHOULD YOUR CHILD LEARN MINECRAFT CODING?
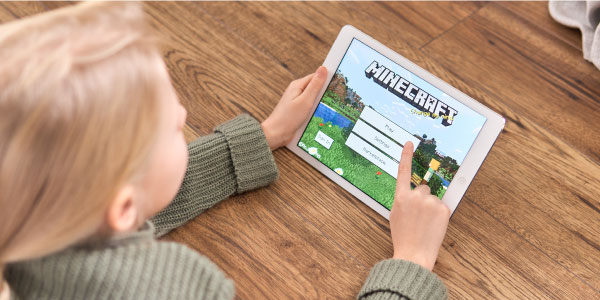
Minecraft is highly popular among kids, and Moonpreneur is now turning this fun gameplay into an opportunity to learn how to code. Encourage your kids to learn while not making it actually feel like educational work. Minecraft Coding will help kids learn the skill of coding the fastest and in the most fun way ever possible!
Kids will construct and explore virtual areas in the vast open world of Minecraft and explore the game more deeply by using codes to personalize
theirexperiences allowing them to express their creativity with Minecraft by creating several structures and environments.
Develops Coding & STEAM Skills
Develops Planning and Design Skills
Develops New Perspectives to Problem Solving
Teaches Life Lessons
Develops Creativity & Critical Thinking Skills
Programming jobs are growing fastest, 50% faster than the market overall. In general, programming jobs
are growing 12% faster than the market average. (Oracle Report)
WHAT DOES MOONPRENEUR'S
MINECRAFT CODING COURSE INCLUDE?
• Create and run your programs within Minecraft to build structures, mob teams and funny potions
• Learn the principles of programming, with functions, loops and variables
• Share your creations on a Minecraft server with other players who play and program with you
Minecraft Coding provides an exciting and efficient pathway for kids to learn coding skills in a remarkably engaging and enjoyable manner. Within the expansive virtual realms of Minecraft, children can construct and explore a multitude of imaginative landscapes while simultaneously delving deeper into the game’s mechanics through the application of coding. By utilizing code, they can personalize their Minecraft experiences, allowing their creativity to flourish as they craft unique structures and environments that reflect their vision.
Minecraft provides multiple options for coding, but one of the most widely used programming languages for Minecraft is Java. With the help of the Minecraft Forge modding platform, developers can use Java to create mods, plugins, and customizations for the game.
Learning Minecraft coding can provide several benefits for your child. It helps develop their problem-solving skills, logical thinking, and creativity. By coding in Minecraft, they can bring their ideas to life within the game, fostering a sense of accomplishment and encouraging experimentation. It also introduces them to fundamental programming concepts that can be applied to other coding projects and careers in the future.
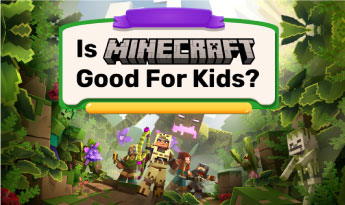
Yes, Minecraft is considered a great platform for learning to code, especially for children. It offers a visually engaging environment where kids can see the immediate results of their code, making it more enjoyable and motivating. Minecraft’s popularity also means there are abundant online resources, tutorials, and communities available to support learning and share knowledge.
Yes, middle school is a suitable time for your child to join Moonpreneur’s Minecraft coding course. They are likely to have a better grasp of basic math and logic skills, making it easier for them to understand programming concepts.
We are a Silicon Valley-based ed-tech company operating from multiple locations, and our students are spread across multiple countries. Our faculty or instructors come from all walks of life and countries. All instructors follow US time zones for classes.