

Moonpreneur
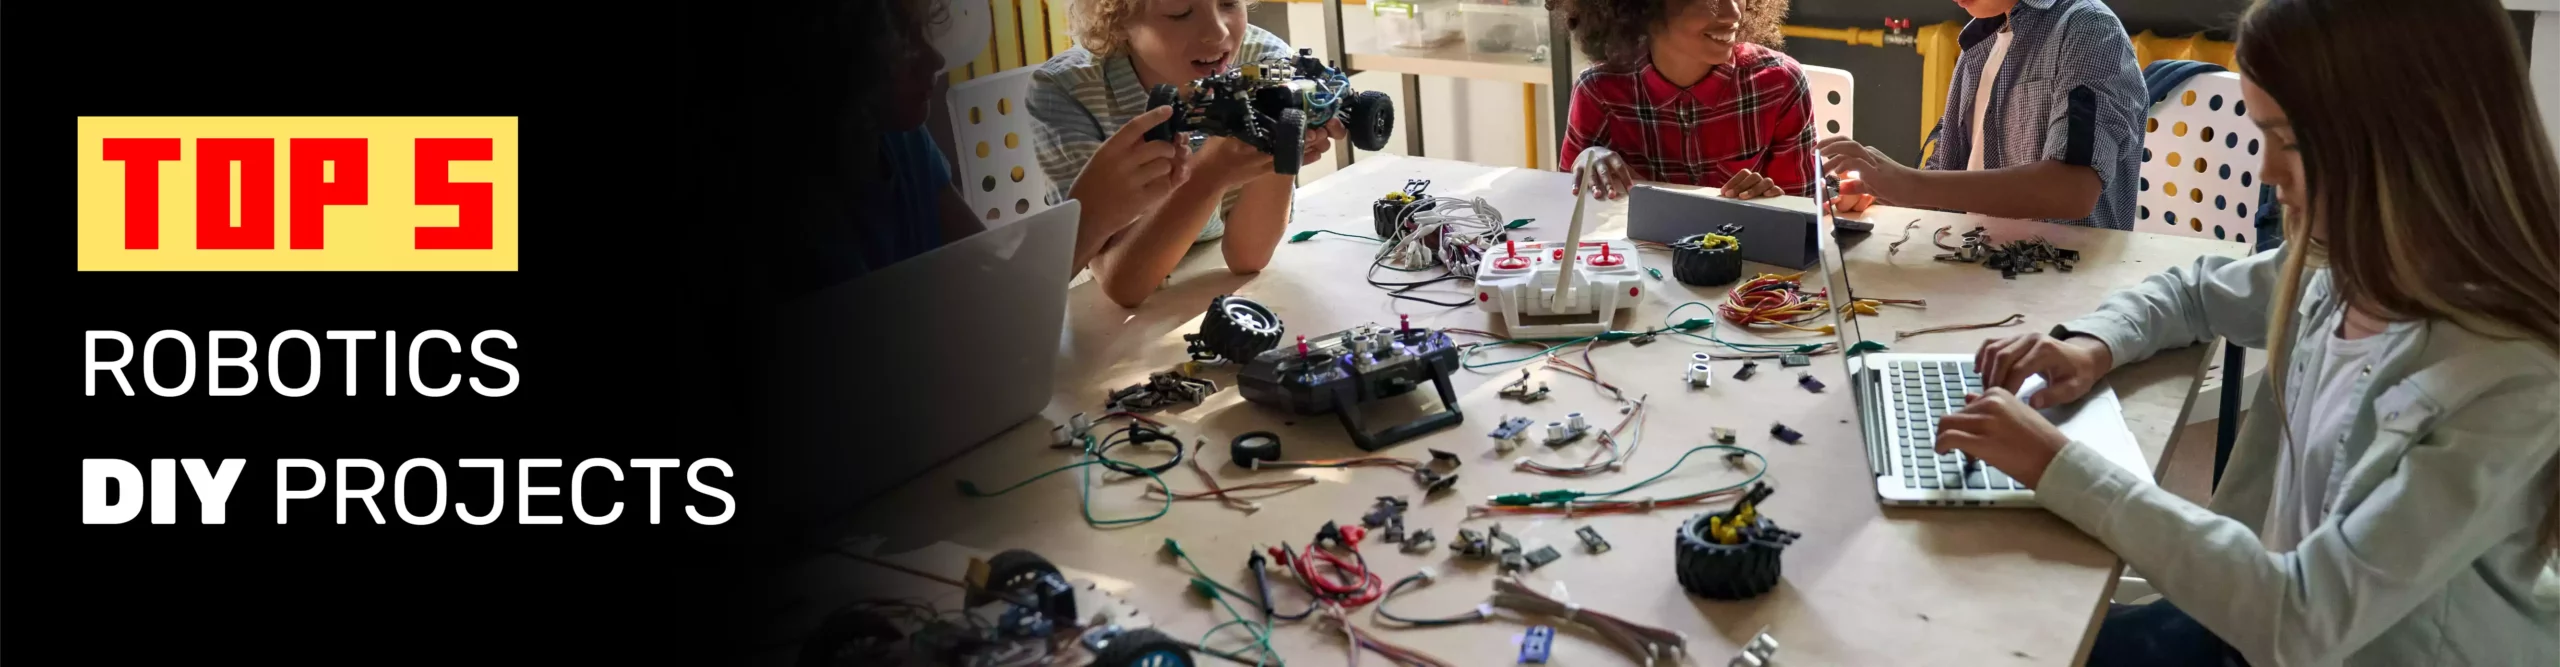
If you are a beginner or a Robotics enthusiast, watch this video till the end, as Moonpreneur is here with some interesting and fun Robotics DIY projects you can build at home.
Let’s get started!
DIY Robotics Project number 5: A Robotic Hand with Straws.
In this project, we will be building a robotic hand using straws. It’s a fun and easy project that anyone can do at home.
First, grab a straw and carefully cut at least one notch. You don’t want to cut too far into the straw, or it might break. But if you don’t cut deep enough, it won’t bend easily. So, experiment with the depth of your notch until you find the sweet spot.
Once you have your notch, you can add more joints to the finger by cutting more notches. You can even offset the joints to create a unique design. Think about what objects you want to pick up and how many fingers you’ll need to grasp them.
Now it’s time for the tricky part. Tie some string to a needle and poke a hole just above the topmost joint in the straw. Thread the string through the hole so it comes out at the bottom of the straw. Repeat this process for all your other fingers.
Once you’ve finished the fingers, it’s time to build the supporting structure. You can use a cardboard tube and attach the straws to the top of the tube. Pull the strings to make the fingers bend and release. And voila! You have your very own robotic hand made from straws.
Remember, this is an engineering design project, so you don’t have to use the same materials as me. You can even use plant-based or biodegradable straws to be more environmentally friendly. Have fun and get creative with your design.
To have a fresh-looking garden, you must water your plants occasionally. But if you usually forget to water them, then this project might be the solution you need.
DIY Robotics Project number 4:- Automatic Garden Waterer!
It uses a simple mechanism involving a servo motor that opens and closes a valve at a specific time. The time and duration of watering plants can be adjusted pretty easily.
You need a few things to build one of your own. You need an Arduino Nano, Servo, an RTC, Some electrical wire, M3 X 10 bolts and nuts, End Connector, a compatible inline valve, 3D printed components, Mini Breadboard, and instead want to use jumper wires.
The project is powered by a USB port that allows you to connect it using various sources of electricity by simply automating certain household tasks like this. You can save time and use it to do other work.
Do you want to support your mom, but you can’t due to your schoolwork and projects? If so, try.
DIY Robotics Project number 3:- Homemade voice-controller Waiter Robot!
In your family, this robot performs the role of a waiter. You can control it with your voice, so Let’s learn how to create it.
So here I show the things we need to do for this project. So we need an Arduino Uno, HC05 Bluetooth Module, Motor Driver, 4X Wheels, 4X Gear Motors, 3X Batteries 3.7v, Battery Holder, 2X LEDs, Jumper Wires, and Sunboard sheet. So let us now start doing this project.
A lawnmower is an ideal equipment for removing extra grass and preserving a uniform grass height. But most of them are costly. Very few prototypes can be trusted in this situation.
DIY Robotics Project number 2: the Automated Grass-Cutting Robot
This robot is entirely autonomous. The blades are rotated to cut the grass by a strong DC motor at the front. The ultrasonic sensor detects the items in front of it while it operates.
The robot adjusts its direction and avoids collision if anything moves into the front.
Let’s see what component we need for this project. We need an Arduino Uno board, L293D model drivers, an Ultrasonic Sensor, an Ultrasonic Sensor holder, a DC Gear motor, a BLDC motor, an Electronic stability controller, one X-type cross holder, SG-90 Servo Motor, Servo Motor Tester, Robot Chassis and wheels. All are then needed to be assembled with the help of this diagram.
The L293D model driver cell is used to control the movement of the Robot and is connected to the microcontroller. The DC Gear motor powers the robot’s movement, and SG-90 Servo Motor is attached at the head. So pan motion to look for an obstacle on the left, right, and front for the guarding mechanism, a 100 KB BLDC motor is used.
We started at a very high speed. This motor is connected to a cutting blade used to cut the grass. The on-off mechanism and speed of the motor are controlled. Using this Servo Motor Tester, the robot requires a power source for a rechargeable battery or power cord. In our case, we are using an 11.1-volt lipo battery.
The robot makes use of all the components. I finally assembled the robot model.
DIY Robotics Project number 1: Moonpreneur’s TRAFFIC LIGHT KIT
We will start with the Controller Board, which is an Arduino nano-compatible board, and the MoonCard Controller Board has software that will control traffic.
Insert the controller board into the light MoonCard as indicated. Match the drawing in the MoonCard, aligning the connectors and the PINs; otherwise, it will not work. Insert the combination of the controller board and moon cards in the breadboard as shown.
The connector for the controller board should be on the edge of the breadboard, and the pins are also aligned. This will help us extend the connection to the traffic light board, which we will do in the next stage. Next, we will take the traffic light board and find its four connecting pins. We will have to connect these four pins to the Controller Board, which we assembled in the previous step, with the help of the wires provided. But before that, connect the traffic LED board to the breadboard.
Next, we will connect the wires. The black wire will go into the GND of the traffic light board and the back of the controller board. The Green wire in the G of the traffic light board and the green of the controller board. In the same way, the yellow wire will go into the Y of the traffic light board and the yellow of the control board. The red wire will go into the R of the traffic light board and the red of the Controller Board.
Finally, we will insert the USB cable into a USB power adapter.
We can also use the USB port of a laptop or computer. The USB cable provides electricity to the board, and there you go – your traffic light is working.
So, if you’re excited to take on the world of Robotics projects, join Moonpreneur’s Free Robotics Workshop to learn how to build such exciting projects.