


Building a Minecraft cathedral can be a daunting task. However, we’ll outline some key steps you can follow to build a Minecraft cathedral in your world. Let’s get started!
1. Scouting
Choosing the location is the first step in building a Minecraft cathedral. Be sure to pick a location that is flat and large enough to have enough space.
However, you can build anywhere you imagine. If you find a picturesque location, such as on top of a mountain or on an arch, that would be a good place to start too.
2. Start planning
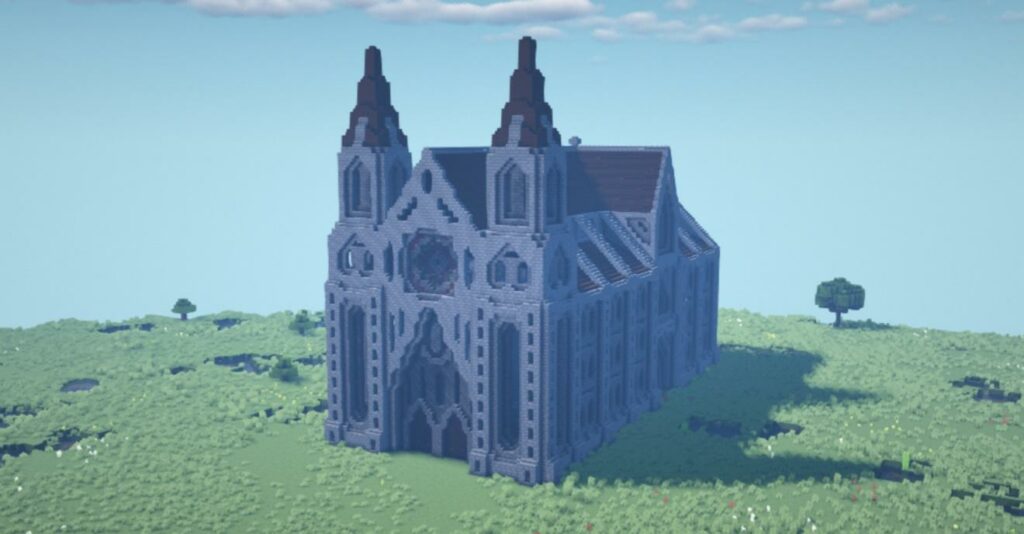
You must decide what type of cathedral you want to build. European cathedrals are built in various shapes and sizes. Moreover, they are made from different materials and are of different colors. Settling on a single aesthetic and look can help you be more efficient during the building process.
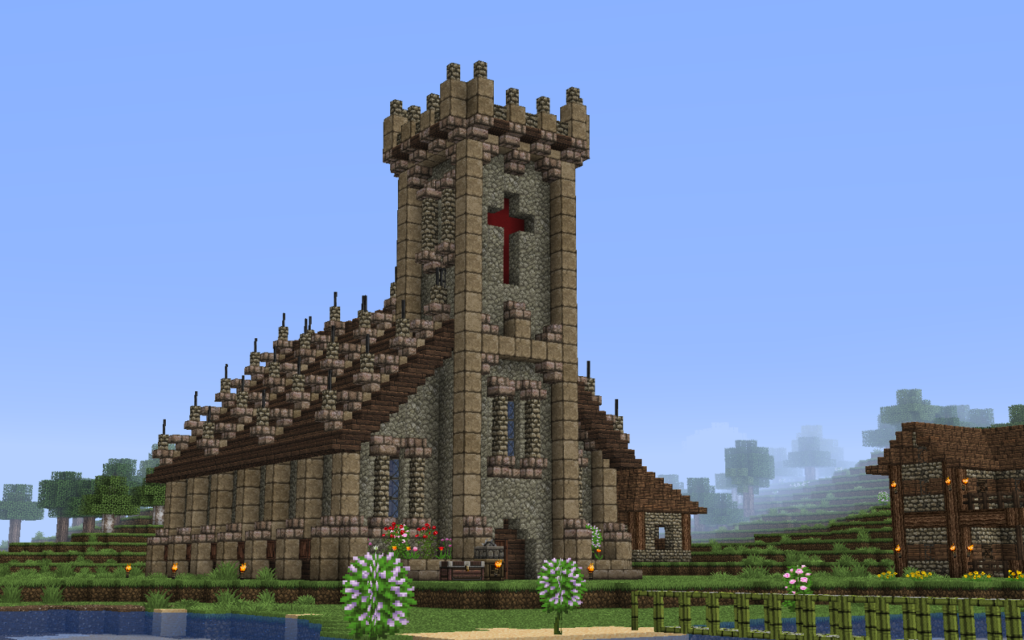
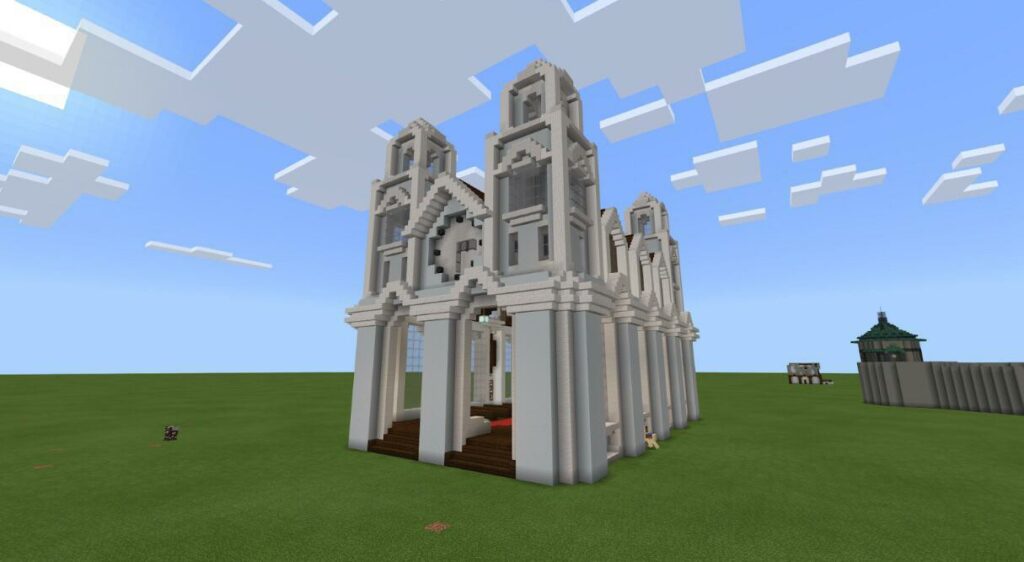
Look for inspiration from the real world as well as Minecraft itself. Take a look at what others have created. These two examples below show cathedrals of totally different designs.
3. Gather the materials needed
The design you choose will determine the materials you’ll need. In any case, you might need a lot of cobblestone and wood. You will most likely find these basic building materials anywhere in almost any biome.
For rarer materials, you must delve deeper into the ground and extract ore from there.
4. Lay the building foundation
You will have to lay the foundation by following the design. Cathedrals will start out as simple outlines in the ground. Use rudimentary blocks to create the floor and foundation.
The matter of having a flat ground is of extreme importance here. Make sure you have enough room and flat space to flourish. Uneven terrain may cost you more ingredients and make your Minecraft cathedral look less beautiful than you imagined.
5. Keep building the walls
Once you have made the floors and the outline, you must build the walls. Keep building up from the outline and build tall walls. Cathedrals are known for being tall, so use your materials wisely here.
Furthermore, Cathedrals are known for stained glass windows. As such, you should leave spaces between the stone walls for glass to make windows.
6. Build the roof
Once you have made the walls, connect the sides of the Minecraft cathedral and build the roof. The roof doesn’t have to be a flat line. Cathedrals often have a symmetrical roof that is pointed at the center.
The roof needs to be higher than the walls. As we mentioned, cathedral designs in the real world have tall walls and ceilings. Do the same with your Minecraft cathedral.
7. Add external details
By now, you will have a basic shape of a cathedral. It may have the shape of it, but not the bells and whistles. After all, a cathedral is different from a bare castle.
You can add spires at the corners and even a bell at the top of the cathedral. You can add more details on the outside, such as prominent windows, elaborate wall décor, and even a sign of the cross or a symbol of faith.
8. Add internal details
Once the outside is done, focus your attention inwards. Decorate and furnish the inside as well. Since it’s a cathedral, it has to be spacious with a focal point at the center back.
Add a lectern with a book to symbolize an altar. You can elevate that place to make it stand out. Furthermore, add stairs as benches along the interior in two or more rows to make it actually look like a place of worship. You can add torches, bookshelves, carpets, and altars to liven up the place further.
Minecraft is one of the most popular games among kids, and Moonpreneur is now turning this fun gameplay into an opportunity to learn how to code. Minecraft Coding course will help kids learn the skill of coding the fastest and in the most fun way ever possible! Book a free class today!