
Are you interested in Robotics? Do you dream of building a robot from scratch?
All of this could be possible if you commence your learning in robotics. Robotics is a very fascinating subject and easy to learn even for complete beginners.
We’ve put together a blog to help you get your foot in the door. It takes many years and lots of experience to become a robotics master, but almost anyone can start dabbling with these simple steps.
Now, before delving deep into robotics, let’s first go through its basics.
In simple terms, machines that can carry out an action or a series of actions automatically are known as robots. Robotics is a term that encompasses a wide range of devices, but generally, they can:
- maintain control over their actions
- obtain sensory feedback
- process information
Typically, robots are programmable. They can be controlled with external devices or the ones embedded in the robot itself. A robot might be completely self-contained or completely dependent on its control mechanism.
The complexity of robots has increased over time. Today’s robots have been handed the responsibility to carry out tasks that were once done by humans. Some robots are even used in harsh environments, such as outer space or on sea beds.
Robotics for beginners
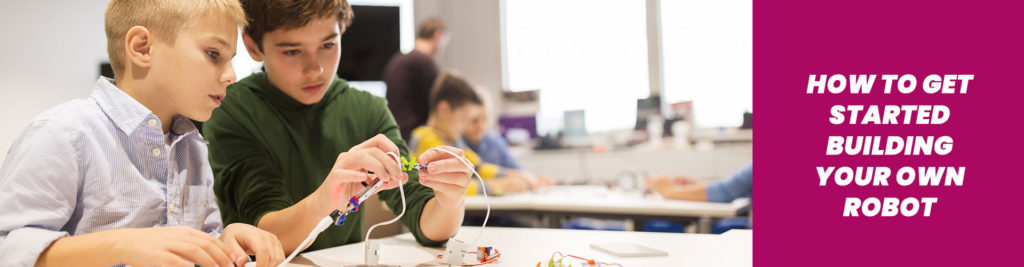
So, again, we are here with the same question, how to build your own robot? As this is a guide for beginners, we will try to keep it as simple as possible. Let’s first have a look at the parts of a robot –
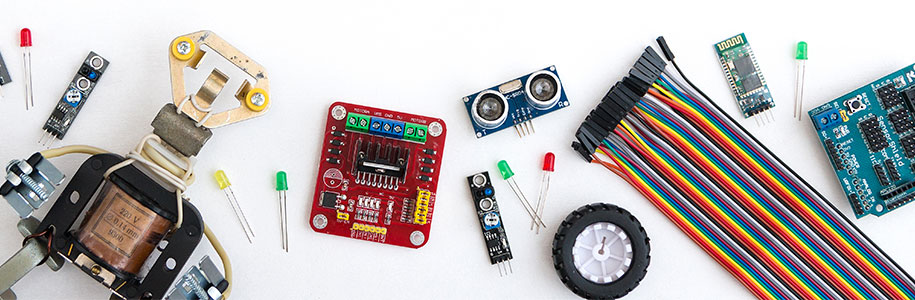
Body of the Robot – The Robot Chassis
A robot’s chassis, or robot frame, is analogous to our own body. A-frame to support the entire robot. A system with sufficient room and the ability to support the weight of all of the robot’s sensors, power source, and wires.
Sensors – The Sense Organs
Sensors are devices or items that are expressly intended to detect properties, events, or changes in the environment and then send out a signal in response. They are one of the most important instruments for bridging the gap between the physical and technological worlds.
A robot has sensors, such as infrared sensors that detect infrared rays, ultrasonic sensors that detect ultrasonic waves, heat sensors that detect temperature, a pressure sensor that detects touch and pressure, and so on.
For example, if you want to create a Cleaning Bot – A robot for floor cleaning. The CleanBOT is meant to clean floors using either a vacuum or an active scrubber. It consists of an auto mode, but you could also use a bluetooth device and an Android application to control it manually.
Your robot must be equipped with –
- HCSR-04 Sonar mounted on servo
- IR proximity sensor (pololu #2460)
- Sharp GP2Y0D810Z0F digital IR proximity sensor
- Some Bumpers
- Bumpers & Thick Carpet Sensor (impact sensors)
Arduino is a compatible device and platform to create such a robot. An Arduino board is made up of a microcontroller, LEDs, a reset button, and several pins for input/output activities. With that many pins, reading information from the sensors and managing various motors and actuators is simple. Arduino is ideal for learning robotics.
The Brain
So now we have all of the sensor’s data. What are you going to do with all of this sensor data? We’ll have to think about it. We’ll have a processing unit for that. In most cases, we’ll use a logic circuit.
A simple circuit made up of resistors, capacitors, and transistors can be used to make simple logical conclusions, or a microcontroller like an Arduino or PIC can be used to conduct more complex computations.
In contrast to the robotic computer brain, the human equivalent has a multidimensional logical order, with data processing taking place at all levels – from social to quantum.

The Actuators – Muscles (Moving parts and Motors)
The result/reaction will be transmitted to the actuators once the signals have been processed. Any electromechanical device, such as motors that move the motor, or servo motors that help the ultrasound sensor to move left or right or elevate the hand, can be used as an actuator.
To move sections of the robot’s body, actuators imitate the motion of human muscle. The most basic robots are simply an arm with a device connected for a specific task. Robots with more increased functionality may be able to move about on treads or wheels. Humanoid robots possess legs and arms that move in the same way that humans do.
One of the most frequent actuators used in robotics is the motor. This is also the finest actuator for children to begin learning about programming and controlling their first robot.
There are three basic types of motors.
- DC Motor: DC motors are two-terminal motors with just one positive and one negative terminal. The velocity of DC motors depends on the model and is determined by the voltage level and amount of spins.
- Servo Motor: Servo motors are small, electrically operated motors that rotate at +/-90 degrees. Changes can be done, though, to ensure a comprehensive 360-degree turn.
A servo motor functions similarly to its human counterpart in the sense that when it is mounted to rotate the ultrasonic sensor, it can be equated with eye muscles moving the retina to have a proper look.
- Stepper Motor: Stepper motors are DC motors that revolve in a step-by-step fashion. The coils within the stepper motor are coiled in a pattern known as phase. We can accurately regulate the location and movement of the drive shaft by activating every coil independently. They’re commonly seen in 3D printers.
Heart – The Battery
We now have practically everything we require. We only require a power source – a source of energy capable of powering all of the sensors, motors, and microcontrollers. We’ll utilize a current source, such as a battery or a power adapter, for this.
Let’s take a look at the making of a collaborative robot –
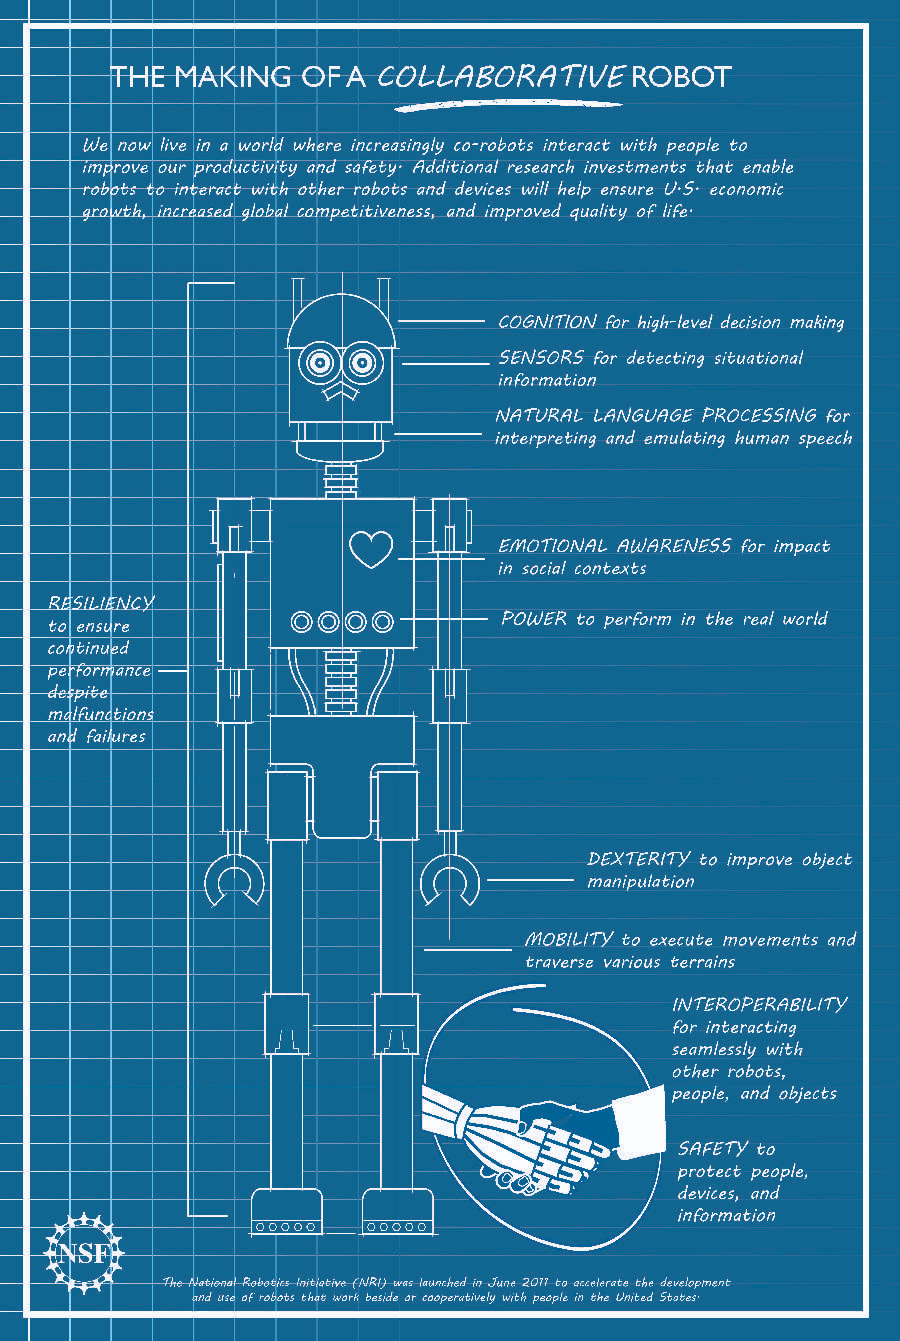
Now that we’ve learned about the parts of a robot, let us learn how to create a robot.
Step 1 – Plan Your Robot
Decide what you want to make first: a line follower, a pick and place robot, or something else entirely. Decide what you want your robot to perform.
A Line Follower, for example, will follow a path without the need for human intervention.
Step 2 – Know the Inputs
Recognize all of the inputs and outputs. For the robot to perform whatever it wants; it needs to collect as much data as possible from its surroundings to process it. So, figure out what it needs to know to carry out that specific action.
Step 3 – Decision Making and Processing of Inputs
We’ll have to give all of the input parameters to the Brain for processing once we’ve gathered them all. We must process the data and program the robot to make the correct decisions in a variety of situations.
Step 4 – The Output
The robot now knows exactly what to do. Now, all we have to do is carry out that specific task. For this, we’ll use an actuator or an electromechanical device.
Step 5 – Power on the Robot
Our robot is nearly complete. To power things up, all you need is a power source. Remember that all of the devices, including the sensors, microcontroller board, motor drivers, motors, and other actuators, must be powered.
You must select the appropriate power source for your robot. Different components have different voltage ranges for operation; below which they will not work and above which they will burn out. As a result, selecting the appropriate power source might be a difficult undertaking.
Step 6 – The Robot Chassis
A chassis is a frame that holds all of the components of a robot together. You can make one yourself or purchase one online.
Robot Programming Languages
To begin programming in robotics, you first must understand a variety of programming languages in order to make a robot function. Despite the fact that robotics is a complicated subject, mastering these programming languages will assist you in designing a project with simple user interfaces.
The following are the top and most often used robotics programming languages:
C/C++
Learning C and C++, an open source programming language with arbitrary, entity, and general programming features, is the best place to start for budding roboticists.
Python
Python is a high-level language of programming used in the testing and development of robots. Python is an excellent platform for automating, teaching, and debugging robot applications.
Java
Robotics systems must be equipped with functionalities via coding languages in order to do human-like activities. The Java programming language may be used to provide these functionalities to robots since it has a variety of APIs that are specifically designed for robotics.
C#/.NET
Microsoft’s own language, C#/.NET, is used to create programmes in Visual Studio. FEZ Rhino and Netduino are examples). It gives ambitious programmers a strong basis for building a career in a variety of fields.
MATLAB
MATLAB is not a programming language in the traditional sense; rather, it is a tool for finding technical solutions based on maths. If they wish to interpret data, create elaborate graphs, or design control mechanisms, robotic developers must master MATLAB.
Build Your Own Robot
Now, let’s take a look at what it takes to build a robot that serves a certain purpose.
Step 1: Set the intention
To begin with, set the intentions of your bot loud and clear. Are you looking for an in-home companion with emotional intelligence or do you want to create autonomous beach art?
The limit is endless, but to get started and to build and program your own robot, try and make the process less complicated. Sometimes, the most successful robots are one-dimensional, serving a single purpose.
Step 2: Choose your platform
Choose an operating system for your robot. The best option would vary based on the choice of your robot – a cognitive robot or an industrial robot. Because of its integration with Microsoft’s AI solutions, Windows 10 outperforms Linux for robots meant for everyday usage.
Furthermore, Windows 10 is user-friendly and simple to operate even for those with very rudimentary computer skills.
You can also choose iOS as your operating platform for your robot. For example, Roblox for iOS is a game development tool and online game platform created by the Roblox Corporation. It enables users to develop games as well as play games made by someone else.
Once you’ve set your intentions on the kind of robot you want to design, it will be easier for you to choose the right platform.
Step 3: Build the brain
Your robot’s central command unit is the most important element of the process of building your own robot. This serves as the foundation for the robot’s intended capabilities, such as voice cognition, speech, facial recognition, motion detection, and so on.
This “brain’s” base might be as simple as a piece of handheld, internet-connected technology. Raspberry Pi is a popular iteration, which is a low-cost minicomputer that you can program yourself.
Step 4: Create the shell
The physical attributes that your robot requires will be dictated by the functionality that you defined in Step 1. If you’re making a cleaning robot with vision, for example, the brain must be compatible with a laser scanner, motor drivers, and touch sensors.
Make sure the robot’s brain can handle messaging connectivity if it needs to communicate with other gadgets. In the field of robotics, the most often used controllers are Arduino and Raspberry Pi.
Build your own Robot with Arduino
Arduino is a basic open-source electronics platform that uses a simple microcontroller device and programming technique. Its user-friendly IDE can be used to build and upload programs.
In this tutorial, learn how to make a DIY Arduino Obstacle Avoiding Car with servo motors at home.
In a nutshell
While robots are capable of incredible accomplishments, not all of them are supercomputers. In reality, many of them are simple hobby projects that you can finish on your own. It’s simple to get started with robotics, and if you use the tools in this guide, you’ll create your own robot in a fun way.
If you want your kid to learn robotics and design their own robot, check out Moonpreneur’s Innovator Program. It is one of the best ongoing robotics courses provided for kids between the ages of 8-17.
The Innovator Program (Robotics) is a unique blend of gaining the technical knowledge of robotics and entrepreneurial skills. Students (ages 8-17) will receive hands-on learning experience with instructor-led classes and tool kits on robotics right from its foundation to the process of prototyping robots, and selling them on e-commerce platforms.